
How to fix a leaky faucet
September 10, 2024
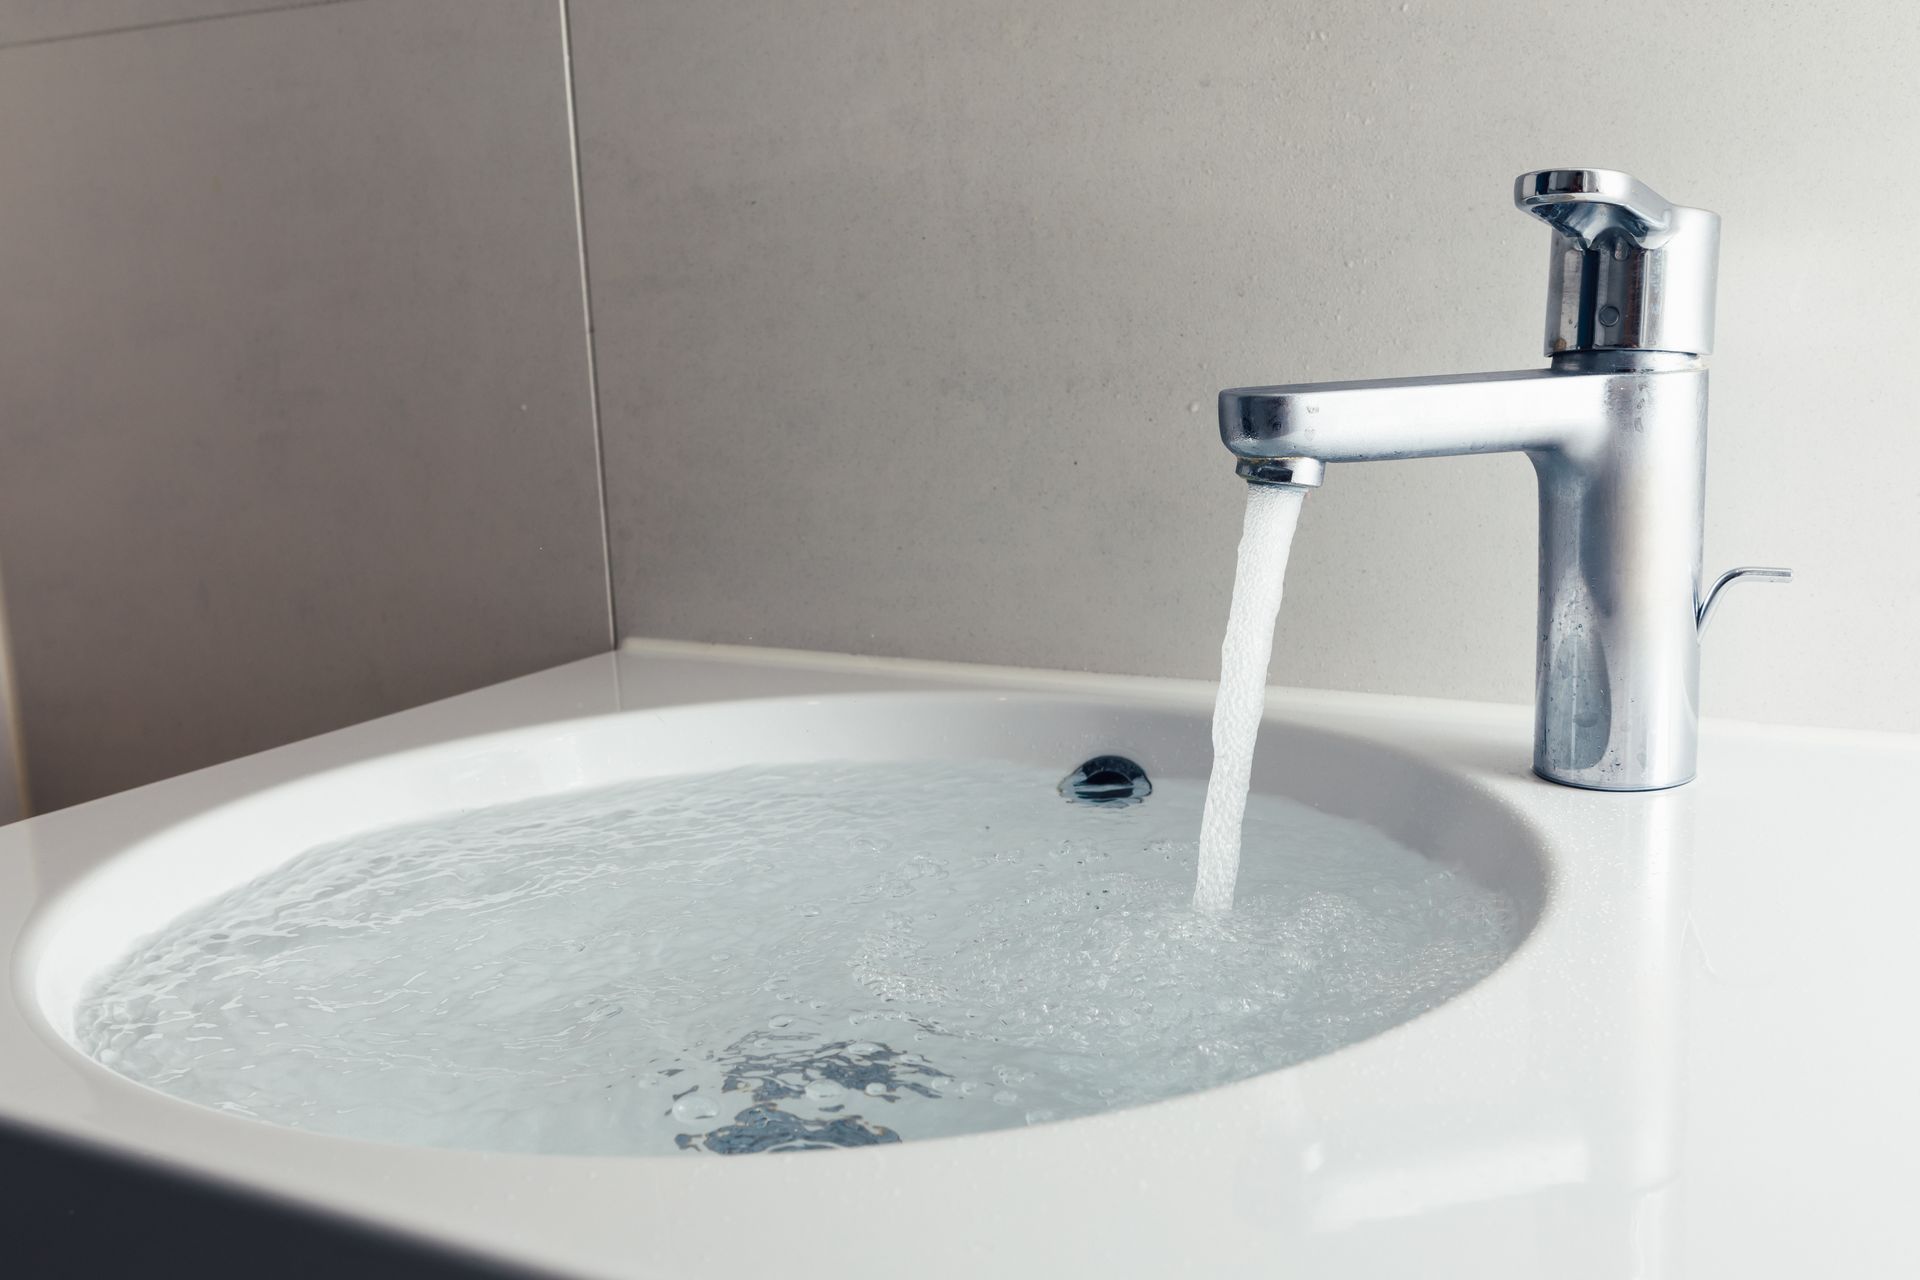
Dealing with a leaky faucet in your home? Not only can it be annoying, but it can also lead to significant water waste and increased bills.
Fortunately, fixing a dripping faucet is an easy do-it-yourself task. Many homeowners can do it with just a few basic tools. This guide will help you DIY common problems with kitchen and bathroom faucets so you can save money and use less water.
Identify the Type of Faucet
Fortunately, fixing a dripping faucet is an easy do-it-yourself task. Many homeowners can do it with just a few basic tools. This guide will help you DIY common problems with kitchen and bathroom faucets so you can save money and use less water.
Identify the Type of Faucet
Before you begin, it's crucial to identify the type of faucet you have. Common types include compression, ball, disc, and cartridge faucets. Different types may require various repair methods, especially for parts like seals and washers. You also need specific tools and materials for the repairs.
To get started, gather the necessary tools and materials, which might include:
• Adjustable wrenches
• Screwdrivers
• Replacement washers or cartridges (depending on your faucet type)
• Plumber's tape
• Replacement O-rings or gaskets
You can find these items at hardware stores like Home Depot or Lowe's. They may also have faucet repair kits for your specific faucet model and brand.
Step-by-Step Repair Instructions
You can find these items at hardware stores like Home Depot or Lowe's. They may also have faucet repair kits for your specific faucet model and brand.
Step-by-Step Repair Instructions
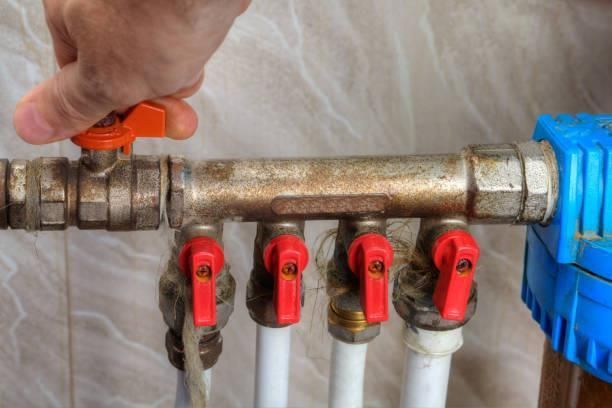
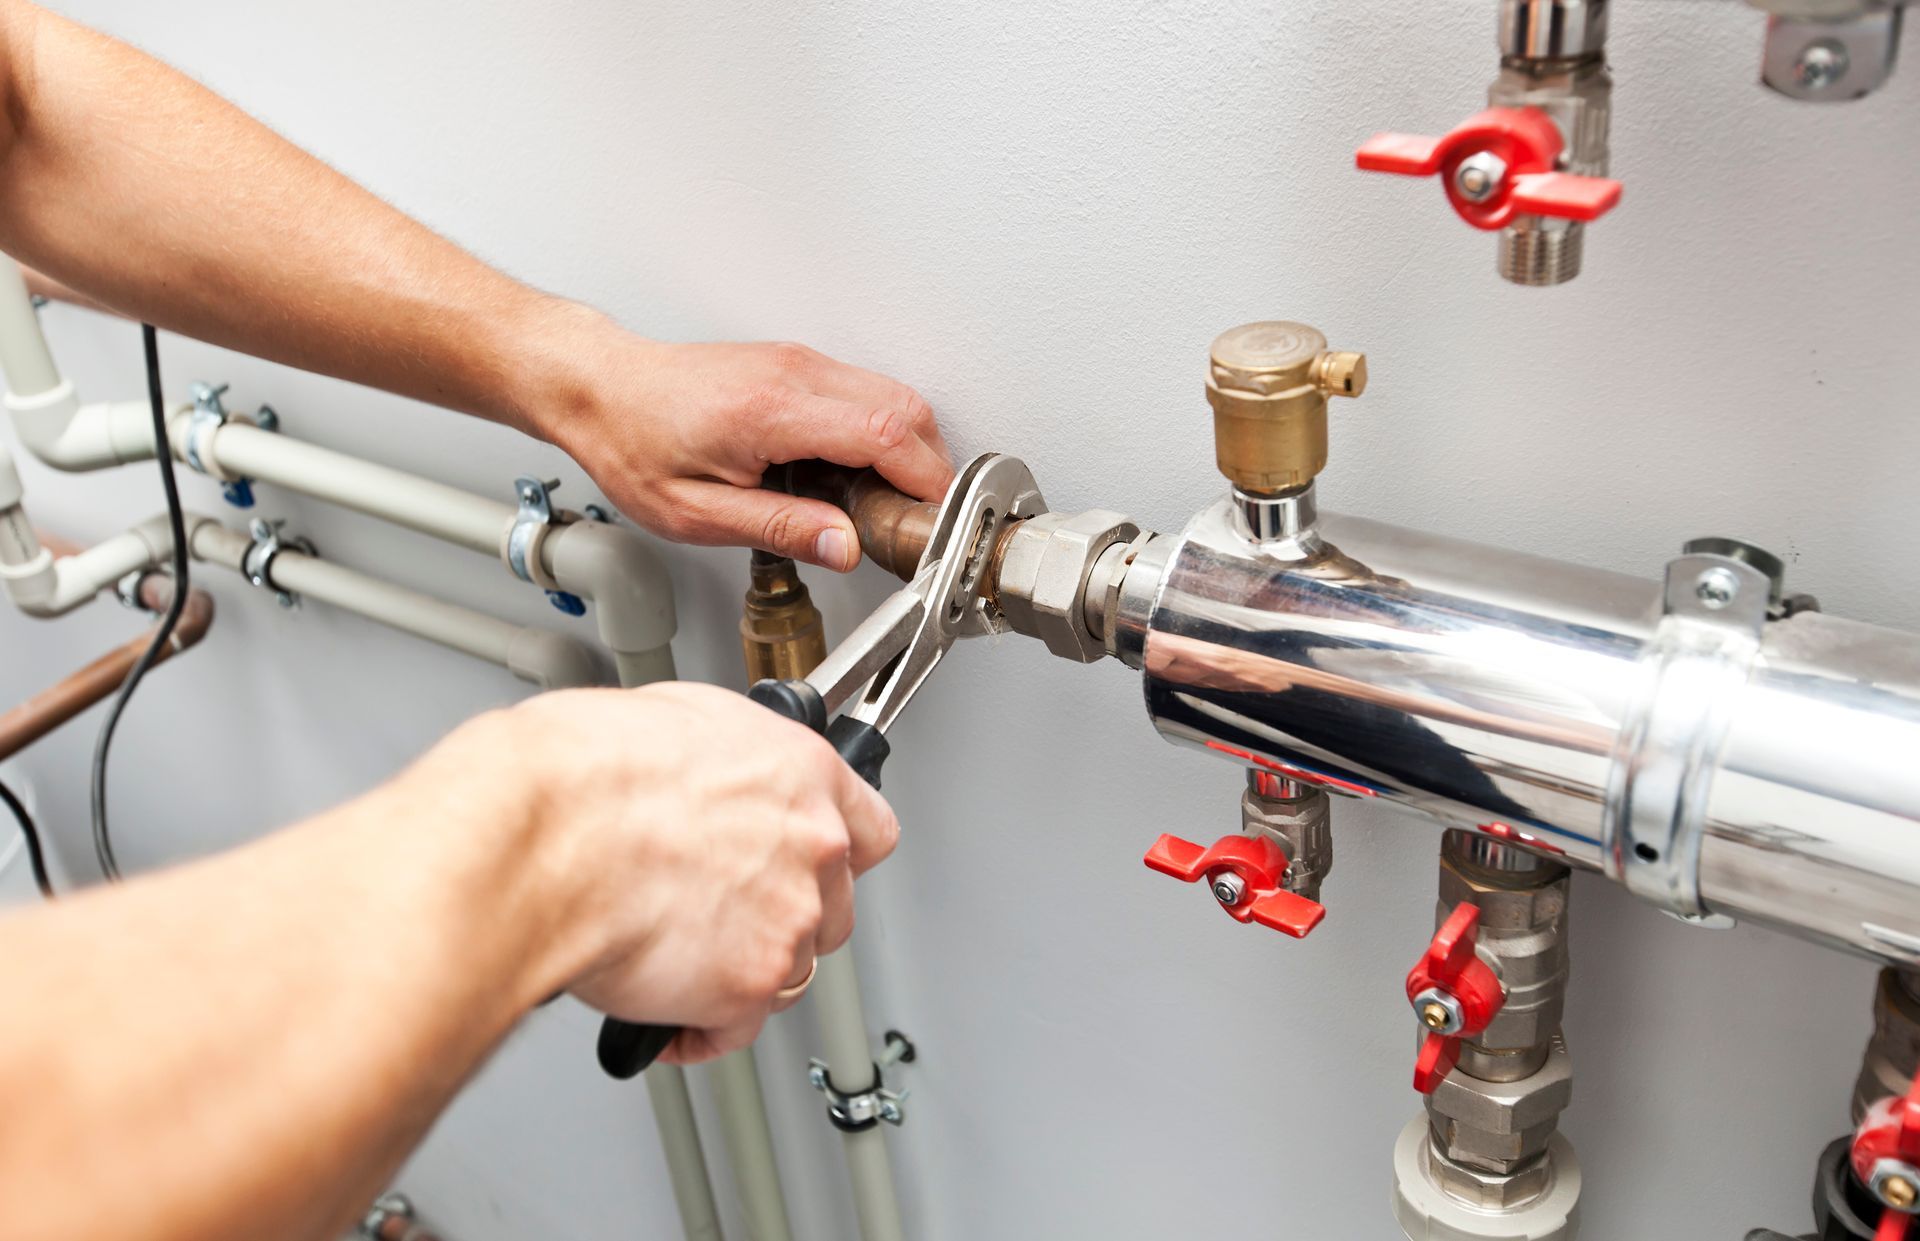
- Shut Off the Water Supply: Always start by turning off the water supply to your sink to avoid a watery mess. You can usually do this via the shutoff valves under the sink.
- Remove the Faucet Handle: Use the appropriate screwdriver to remove the handle of the faucet. This might involve loosening a set screw or removing a decorative cap and then the screw beneath it.
- Inspect the internal parts: Check the washer, O-ring, and cartridge after you remove the handle. These are often the culprits behind leaks. Look for any signs of wear or damage.
- Replace Faulty Parts: Replace any worn or damaged parts with new ones. If you're unsure about what parts to buy, take the old ones to the store to ensure you get compatible replacements.
- Put the faucet back together. Do this in the reverse order of how you took it apart. Be sure not to overtighten screws and bolts, as this can damage the new parts.
- Test Your Work: Turn the water supply back on and check for leaks. If the faucet still drips, you might need to repeat some steps or consider speaking with a professional plumber.
By following these steps, you can ensure your faucets run leak-free and continue to run smoothly for years to come. For more DIY tips and plumbing help, check out more of our blog below
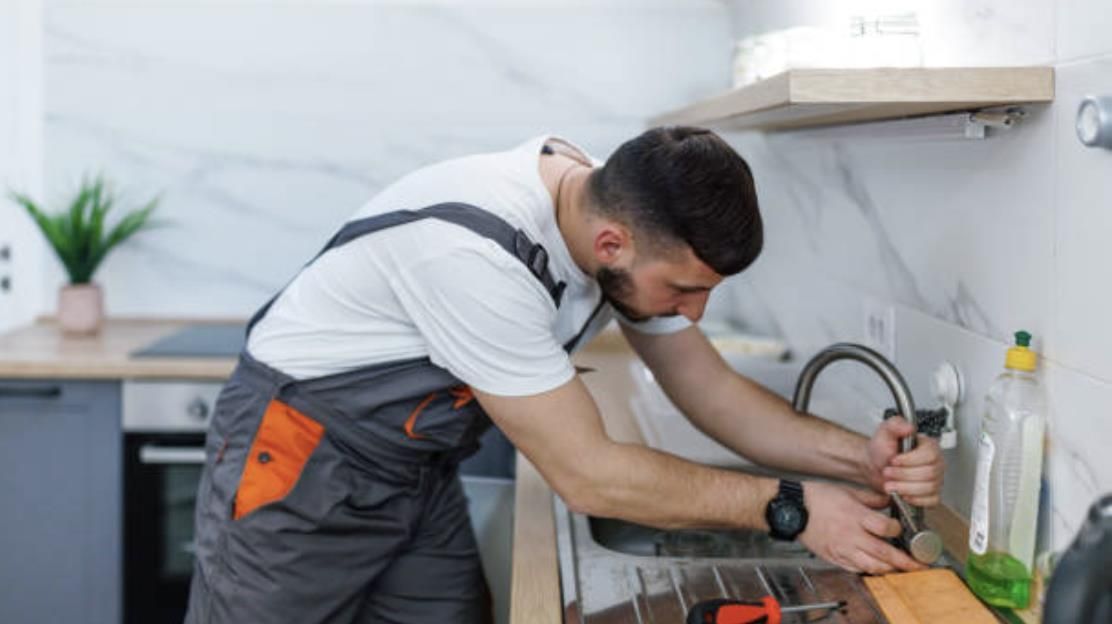
If you still experience issues with your faucet or prefer a professional service. Call Right Now Plumbing
and Heating at the phone number listed above or click below for expert assistance.
Discover how much a tankless water heater costs, including electric and gas options. We’ll also cover 30-gallon, 50-gallon models, installation fees, and operating costs.

Bathrooms should smell fresh, but sometimes sewer odors creep in, creating an unpleasant atmosphere. Ignoring these smells can lead to more significant issues. Call Plumbing & Heating to learn more!
Learn if Drano is harmful to your pipes. Understand the risks of using chemical drain cleaners and discover safer alternatives for clogs.
Invest in your home's future with repiping. Enjoy better water quality, increased property value, and long-term savings on repairs.
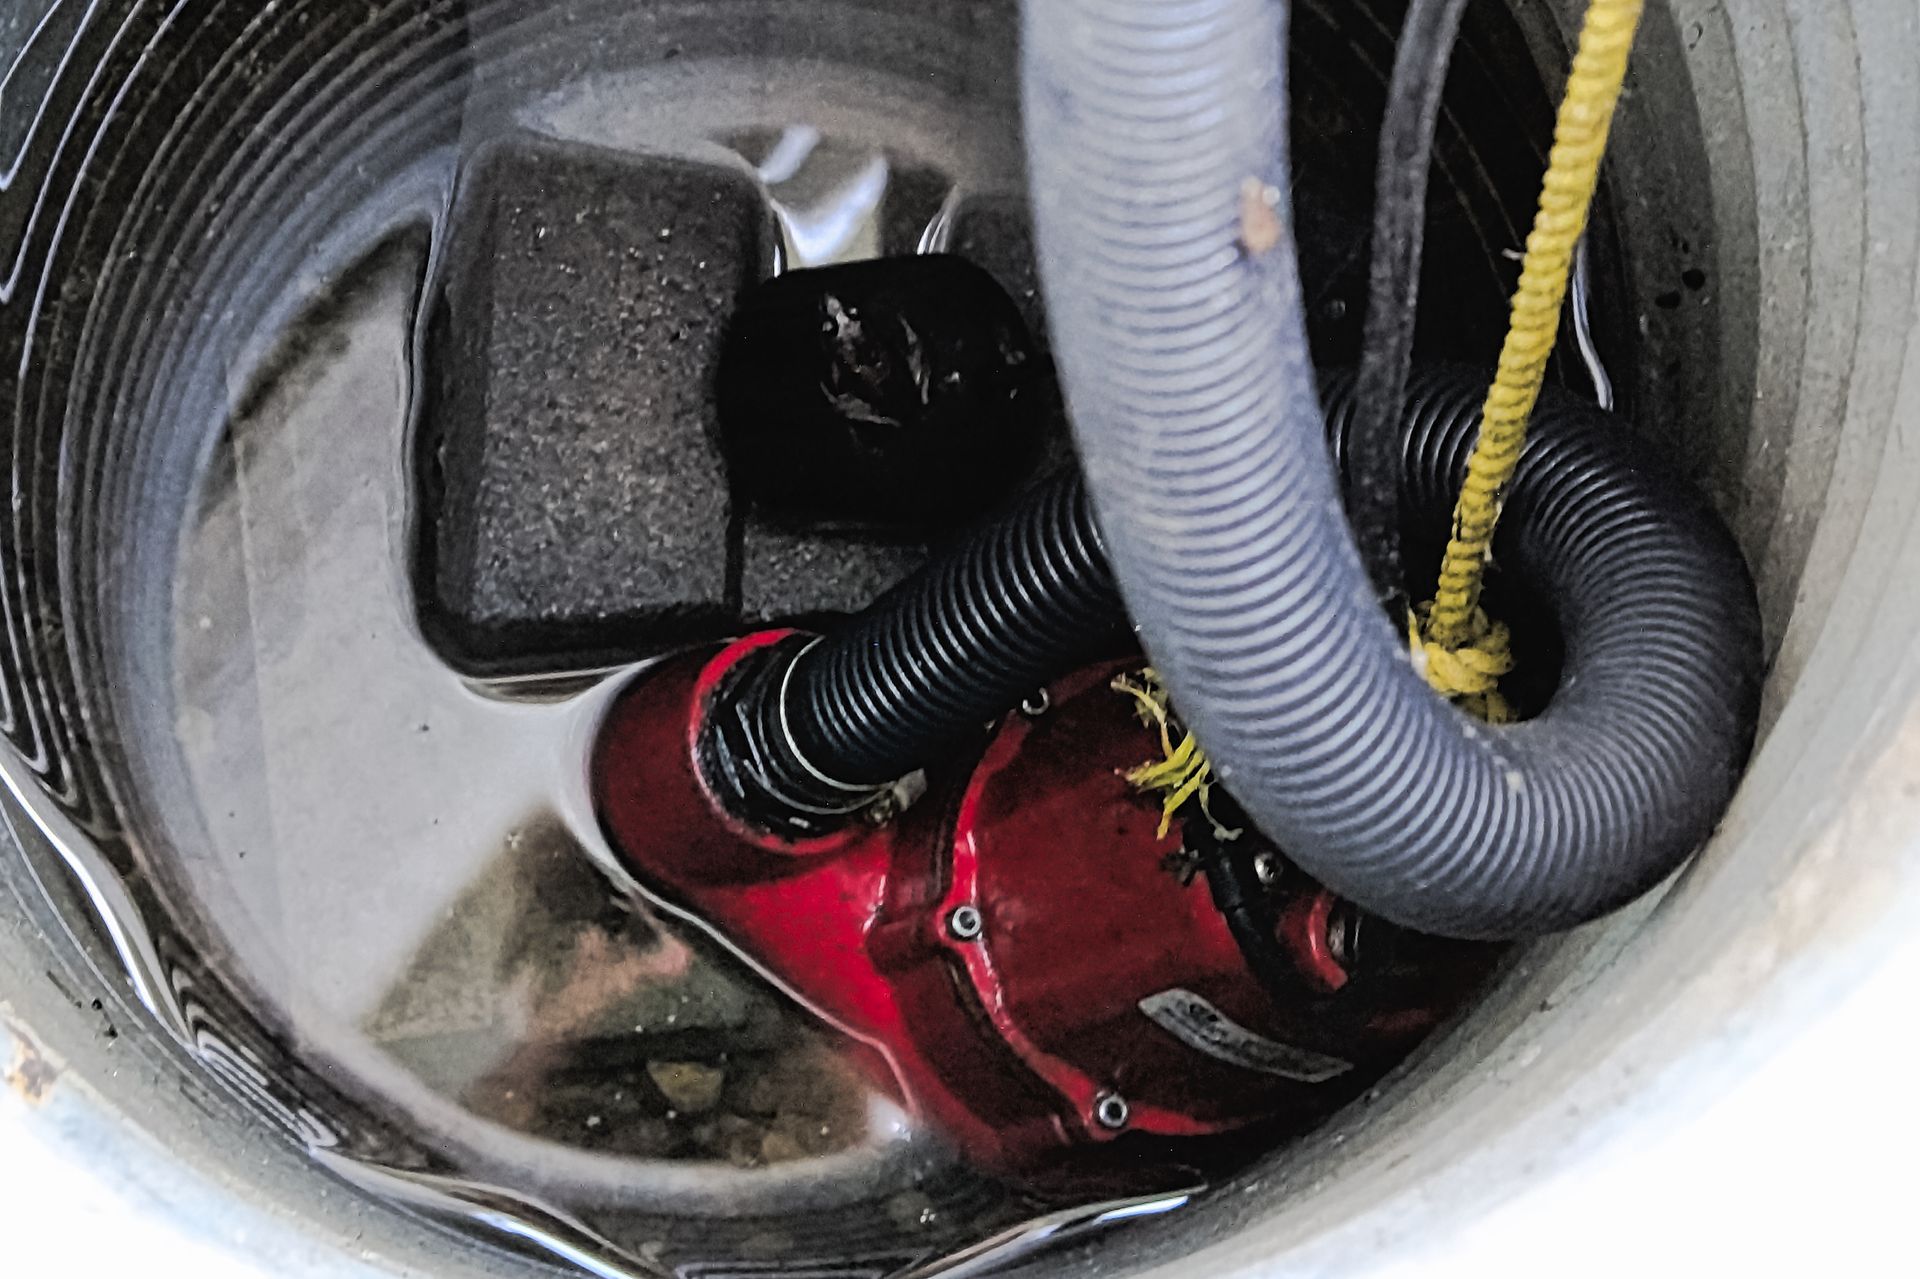
Learn what a sump pump is, how it works, and if you should consider installing one to protect your home from basement flooding
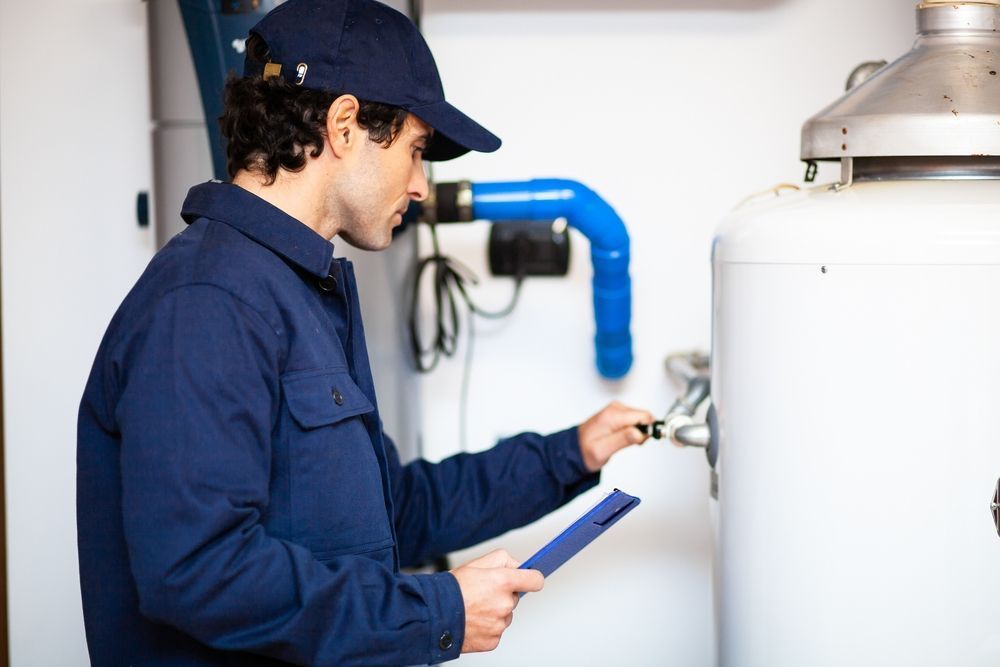
Compare electric and gas tankless water heaters to find the best option for you. Learn the pros and cons of each variation